How To Prepare Soil For Sod: Complete Guide
We’ve put together a complete guide for you explaining how to prepare your soil for sod. Preparing for new sod or grass seed can seem like a big job but once you break the process down into steps it’s not that bad. We’ll talk about all the basic sod preparation steps for your soil and then also some special circumstances that you might run into.
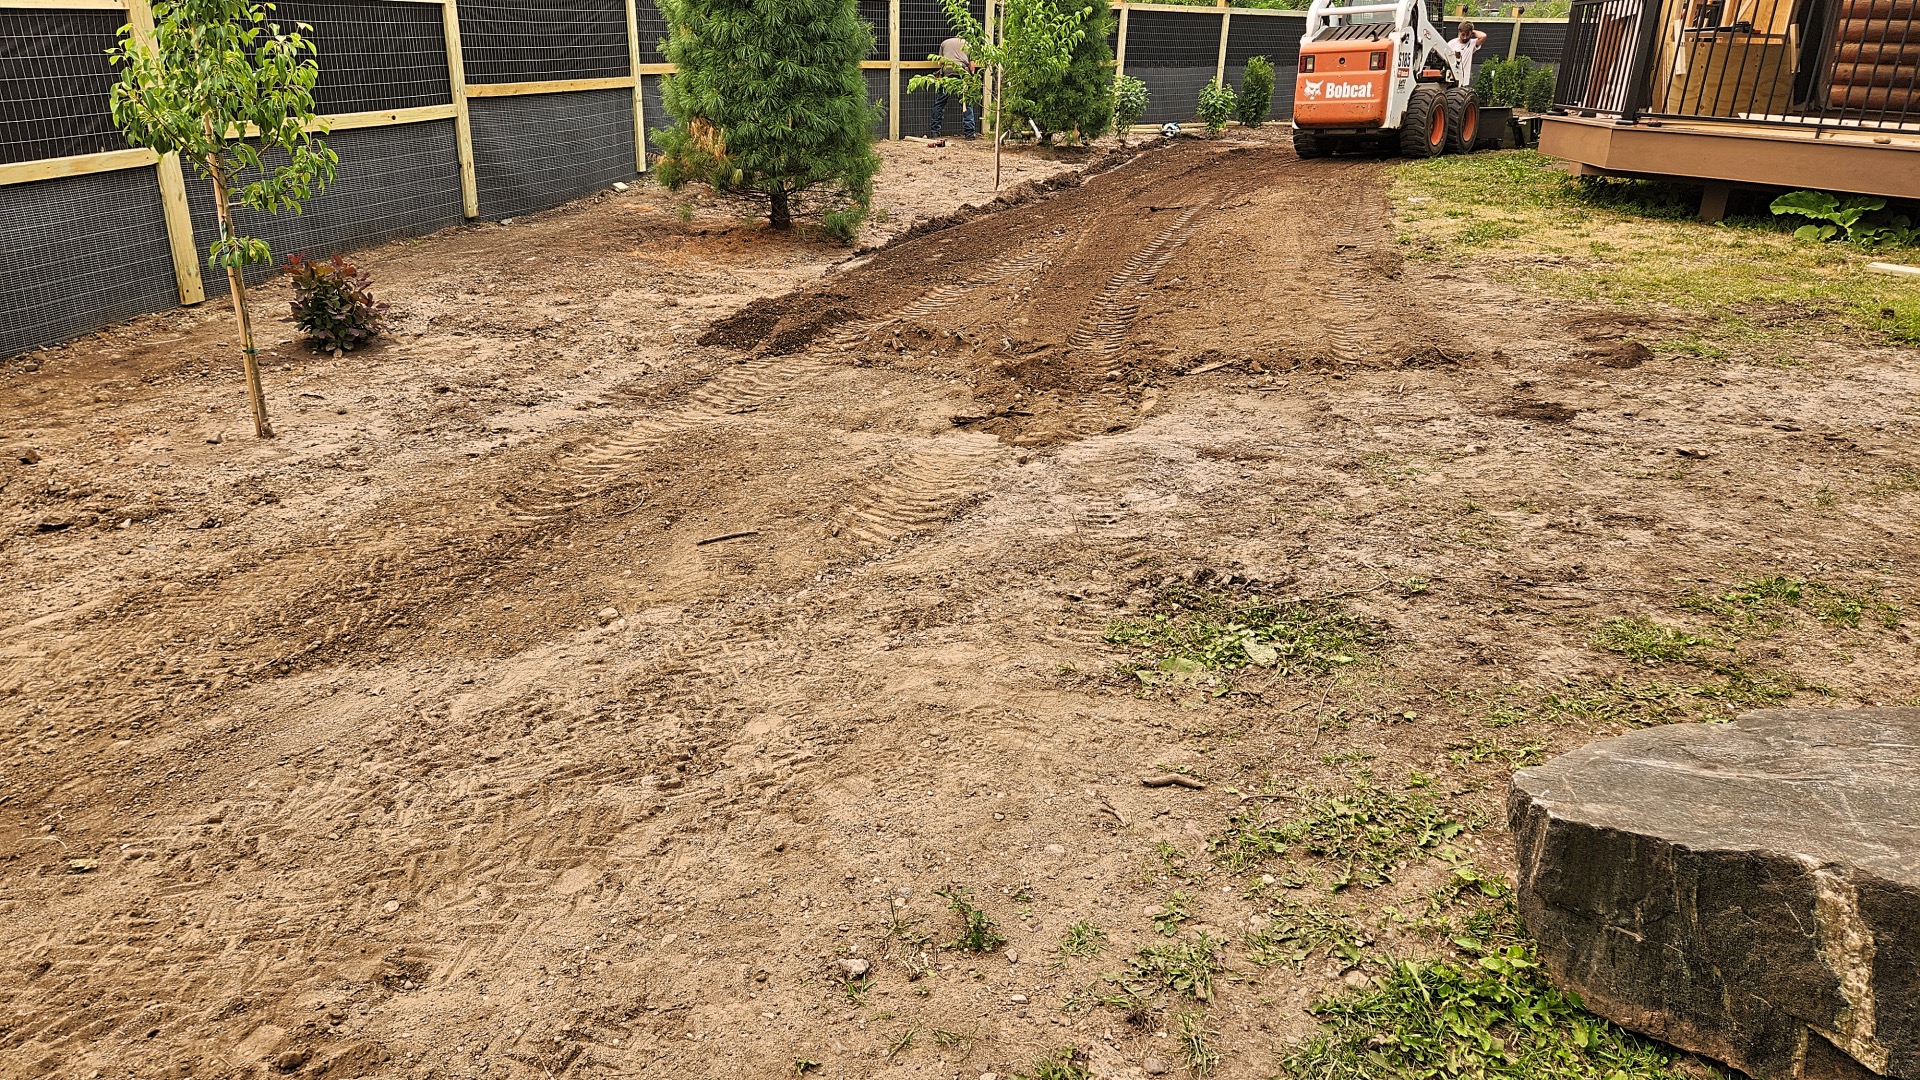
In each step, we’ll get into the details to help you properly prepare for new sod or grass seed planting. Here is the quick list of how to prepare soil for laying new sod. Follow these steps and you’ll give your sod the best chance of living strong and healthy.
How To Prepare Soil For Sod Installation
In this guide, we will break down (no pun intended) how to prepare soil for new sod or grass seed. Preparing for sod does require multiple steps but it’s not as hard as you might think. It comes down to clearing the ground, getting the grade right to protect structures, patios, walkways, and driveways, and conditioning the soil so your new sod can take root. And of course, watering your new sod consistently to give it the best chance to thrive.
Clear the Area To Get Ready For Your New Sod
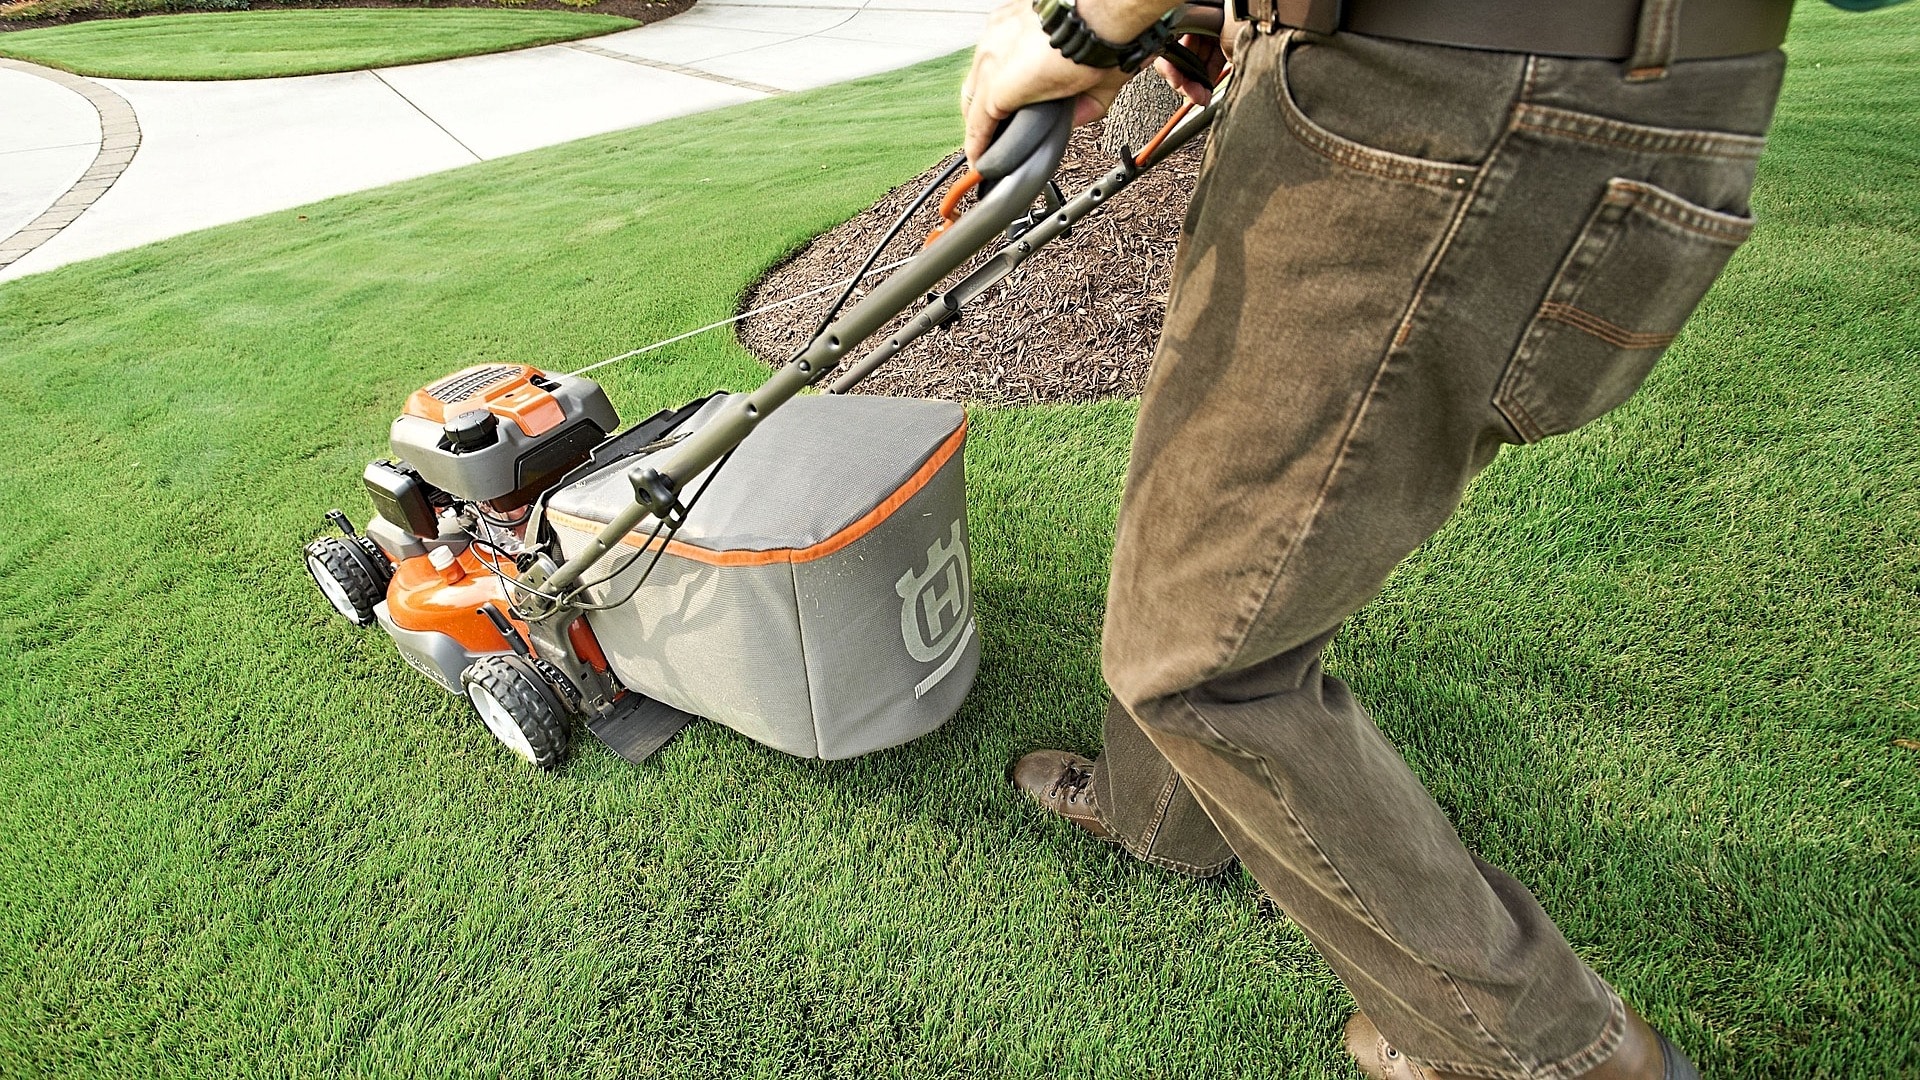
The first thing you need to do is clear the ground where your new sod will be installed. This includes any small plants or rocks or anything else that is in the way, even older grass. In order for your sod to really take root and become the healthy, beautiful lawn you want it to be you have to start totally fresh.
Till Up The Soil And Rough Grade
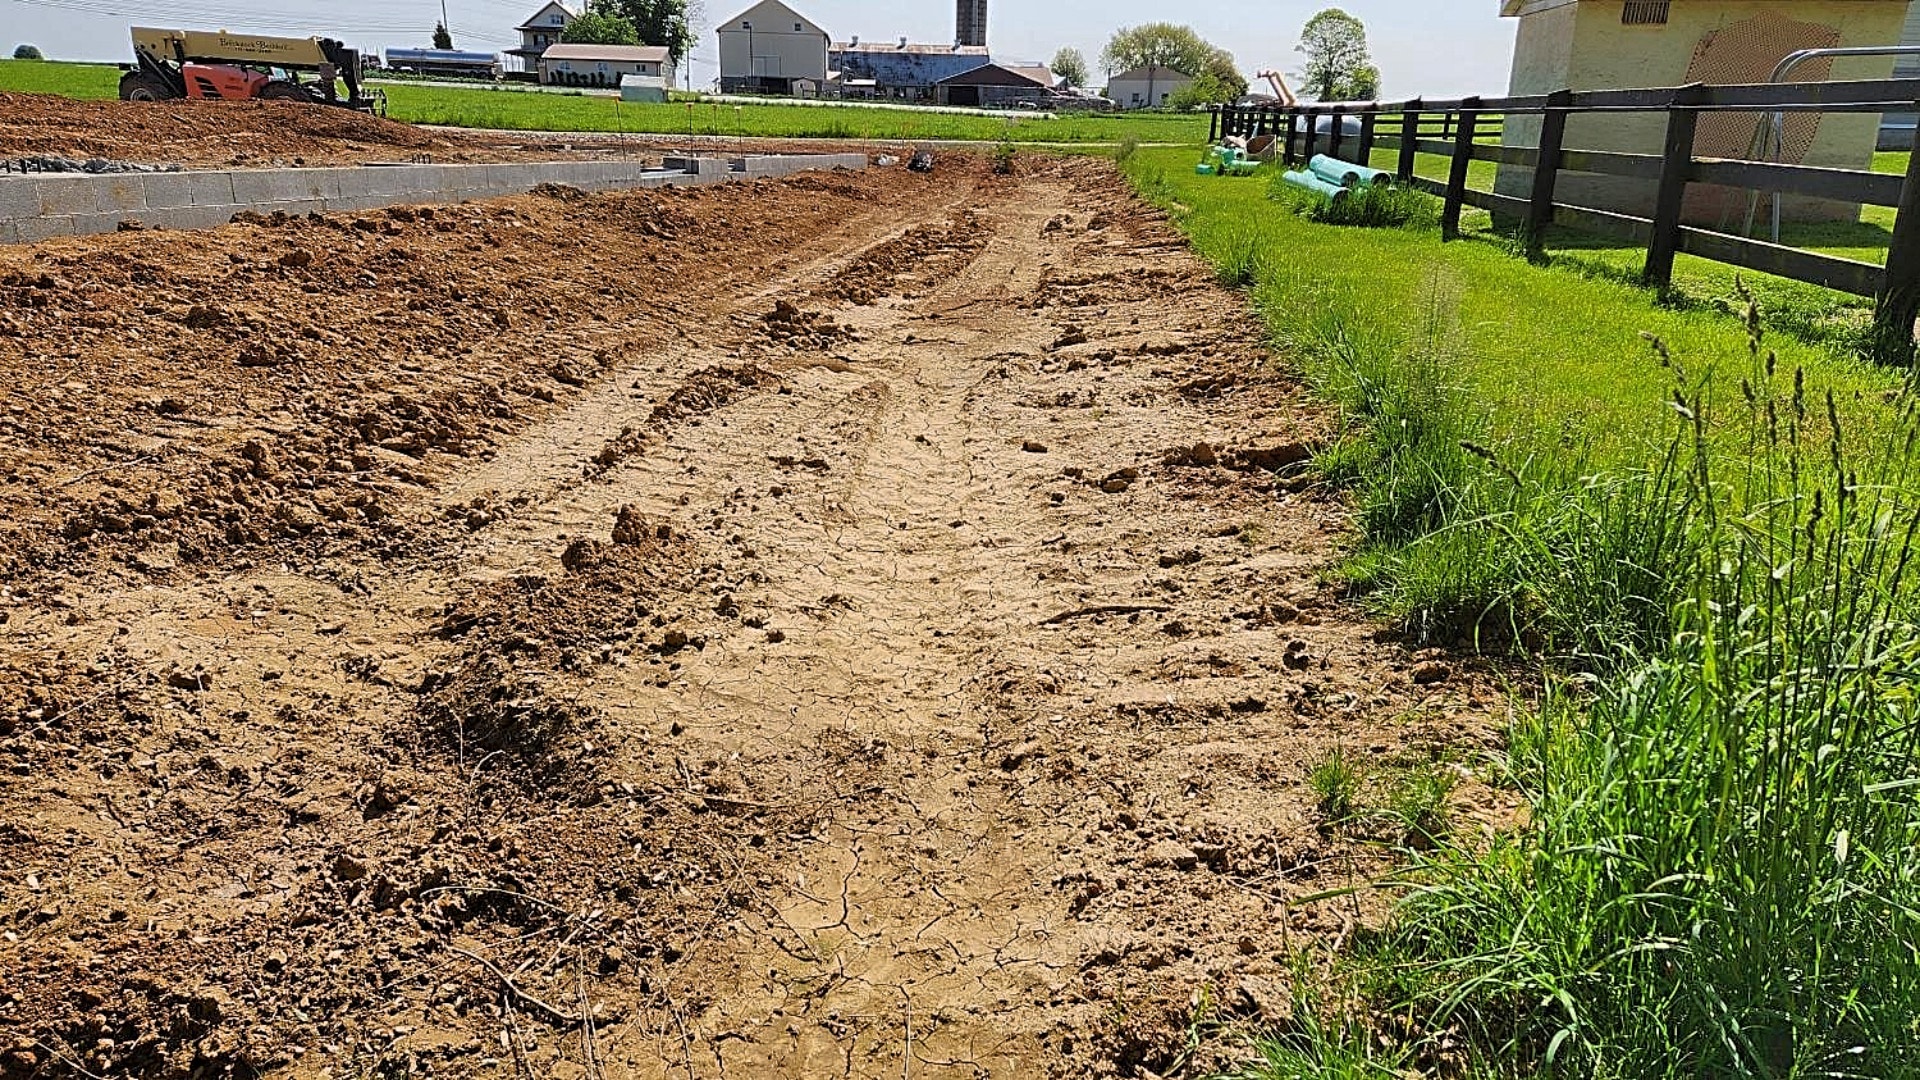
Once your ground has been cleared the next step is to till up or work up the soil. There are a number of ways you can do this.
- You can use a hand rake to break up the soil if you are installing new sod in a small area.
- You can use a rototiller to turn up the ground you are preparing for new sod.
- You can use an attachment like a Harley Rake to pulverize the ground and soften the soil.
- You can use a rock rake attachment like a Rockaway to work up the soil and begin removing debris.
The method you choose for breaking up the ground and rough grading will have a lot to do with the equipment you have available and the size of the area you are prepping for sod. If you have access to skid loaders and attachments like Harley Rakes or Rockaways they will make the job a lot easier and save you time.
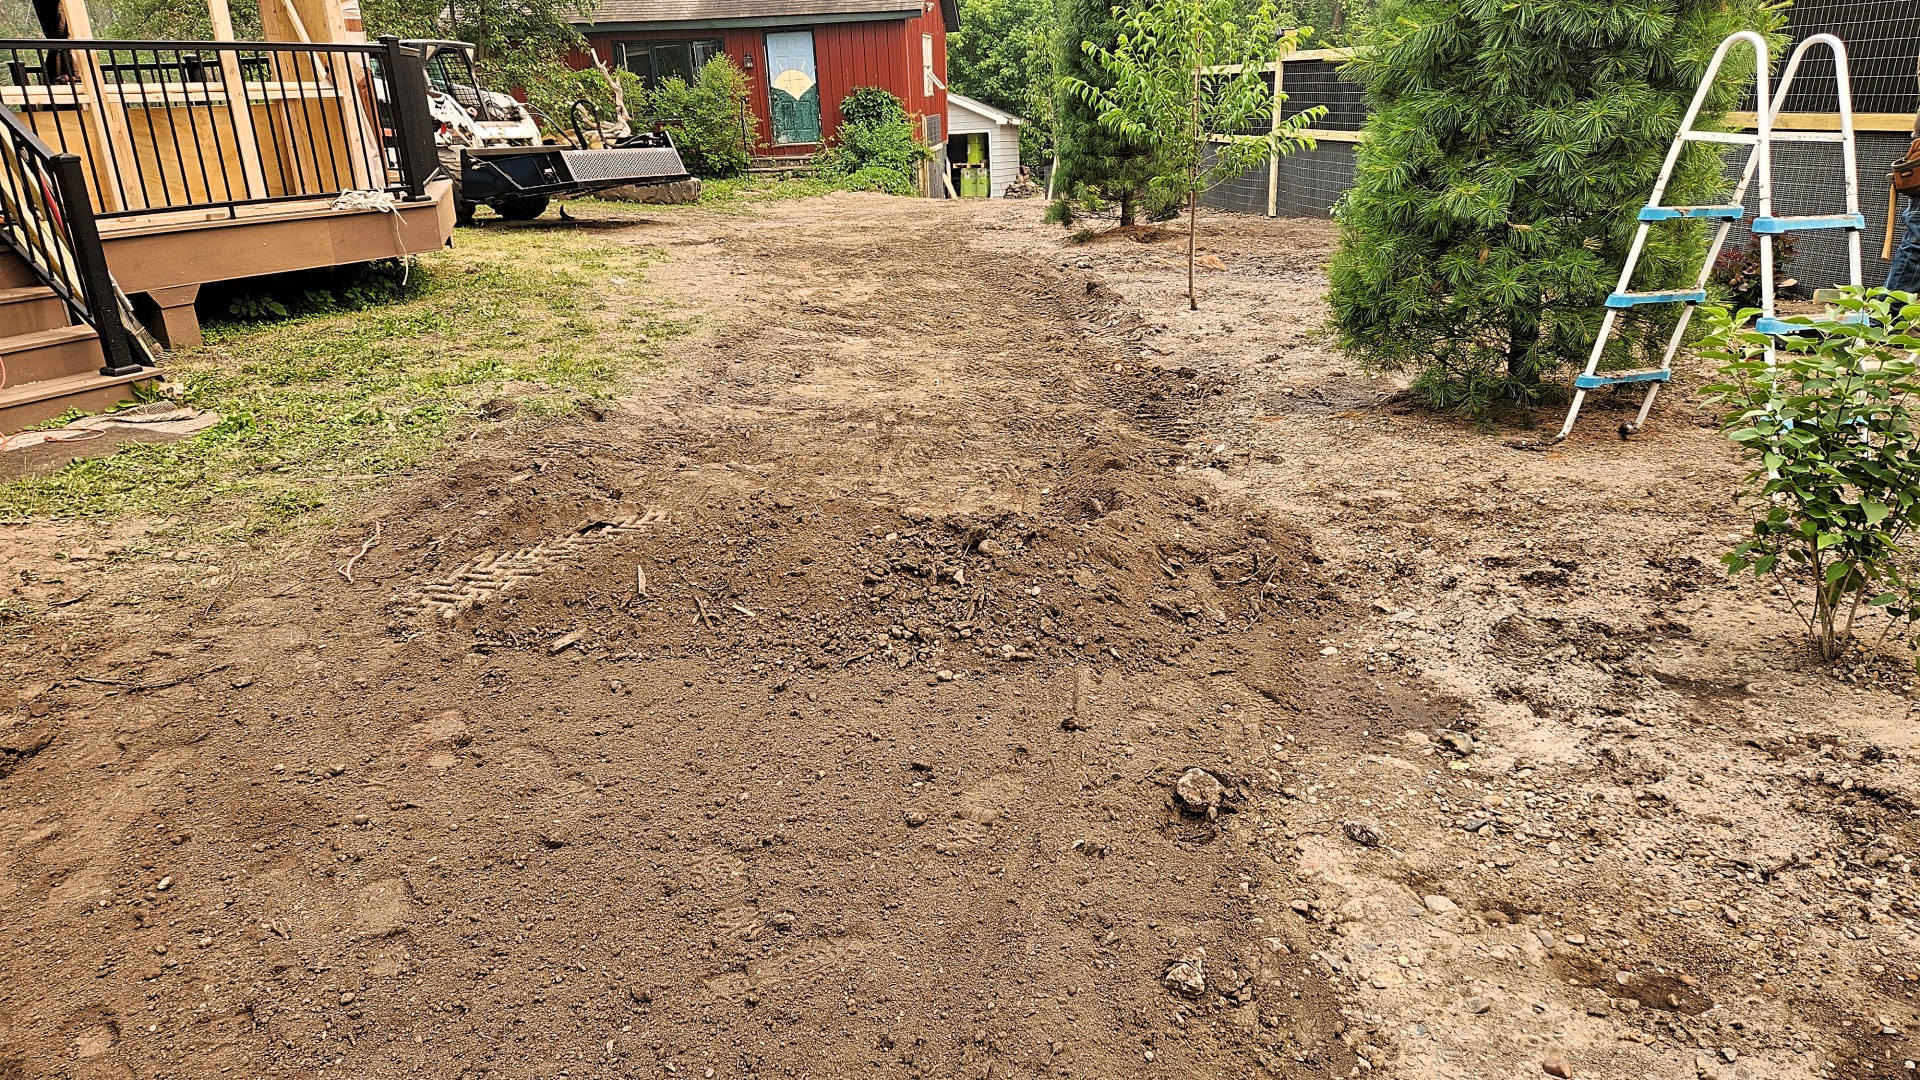
Grade for Proper Drainage
Once you’ve broken up the ground you’re ready to grade it properly. The purpose of grading a yard or area where you’ll be installing new sod is to control how water drains off your area. You always want to make sure that water is draining away from structures like homes, barns, sheds, or any other buildings that may be on the property. The same goes for patios, walkways, and driveways. Water can easily seep down around the foundations of these and begin to destroy them.
A good rule of thumb is to grade the area down 1” or ¾” below any structures, patios, or walkways to ensure that water will drain away from them. Water can be very damaging to building foundations and hardscapes.
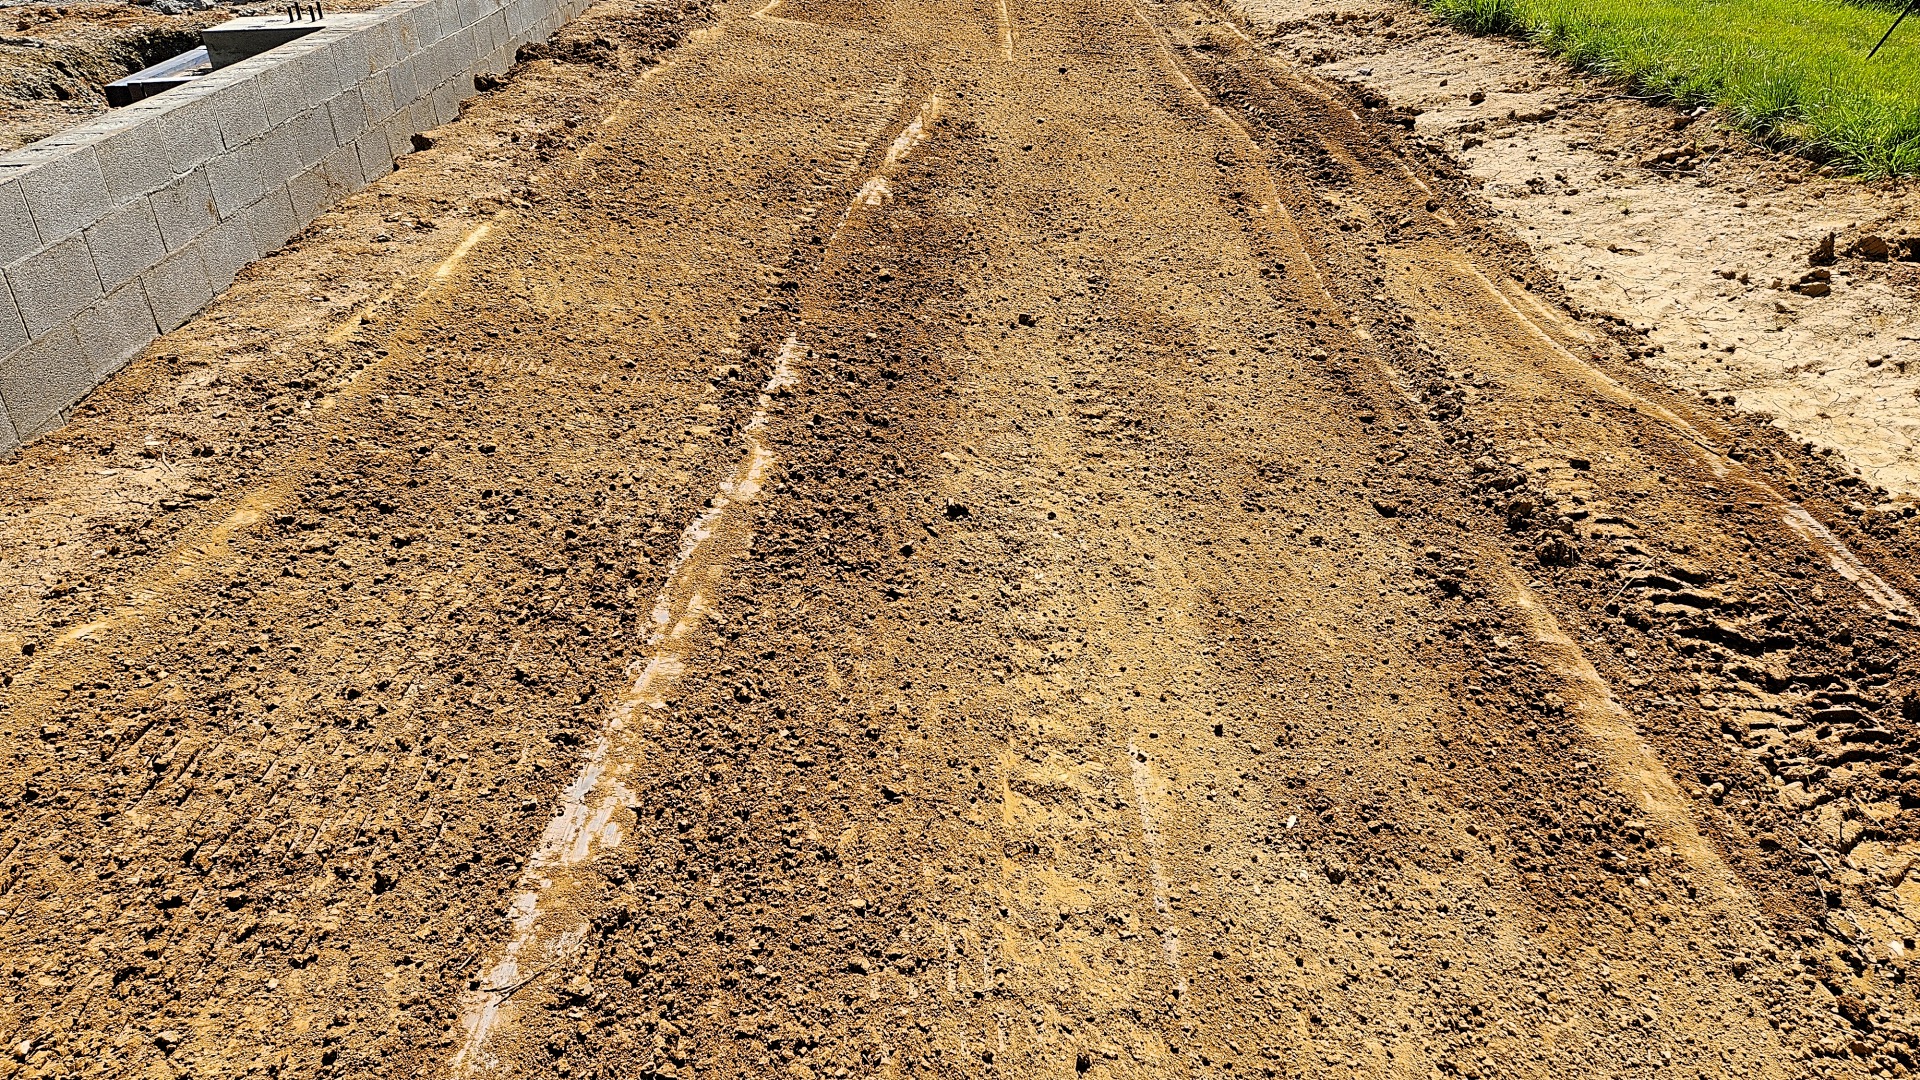
Test the Soil Before Installing New Sod
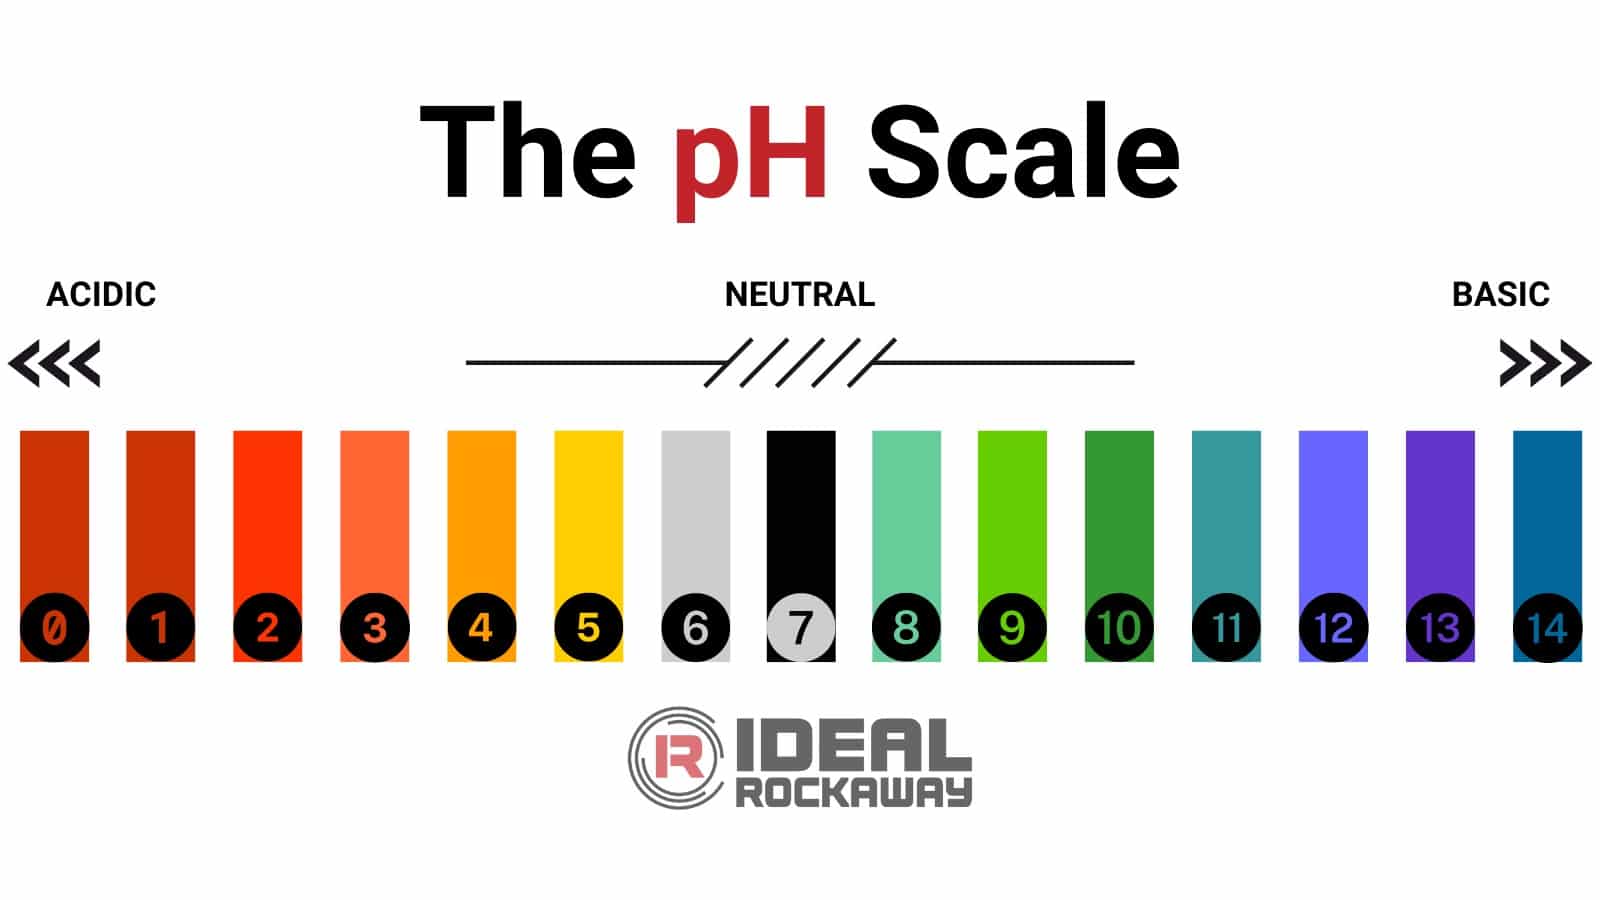
Your next step in preparing your ground for new sod is to test the soil. You want to figure out the pH of the soil to determine what it needs in order for the sod to have the best chances of establishing healthy roots. Soil that is either too acidic or too basic will need to be treated.
This is easily the most “technical” step as it requires you to take soil samples, test them, wait for the results, interpret those results, and then get the proper soil amendments. Make sure that you don’t skip this step even though it might be tempting. Laying new sod is an investment and without properly preparing the soil in every way you could be wasting all your other efforts and financial investment.
pH scale colors thanks to USGS.gov.
How To Test The pH Of Your Soil At Home
You can purchase your own soil probe and test your soil yourself! This is an option that will save you time in the long run because you don’t have to send away your soil samples and wait for lab results to be returned to you. The downside to this option is that even more expensive soil probes are not going to be quite as accurate as lab testing.
If you choose to use your own soil probe you will want to test multiple areas. We suggest testing the four corners of your area and testing two places towards the middle of the ground you are going to be laying your new sod. Record all six readings, add them up, and divide by six to get your average soil pH.
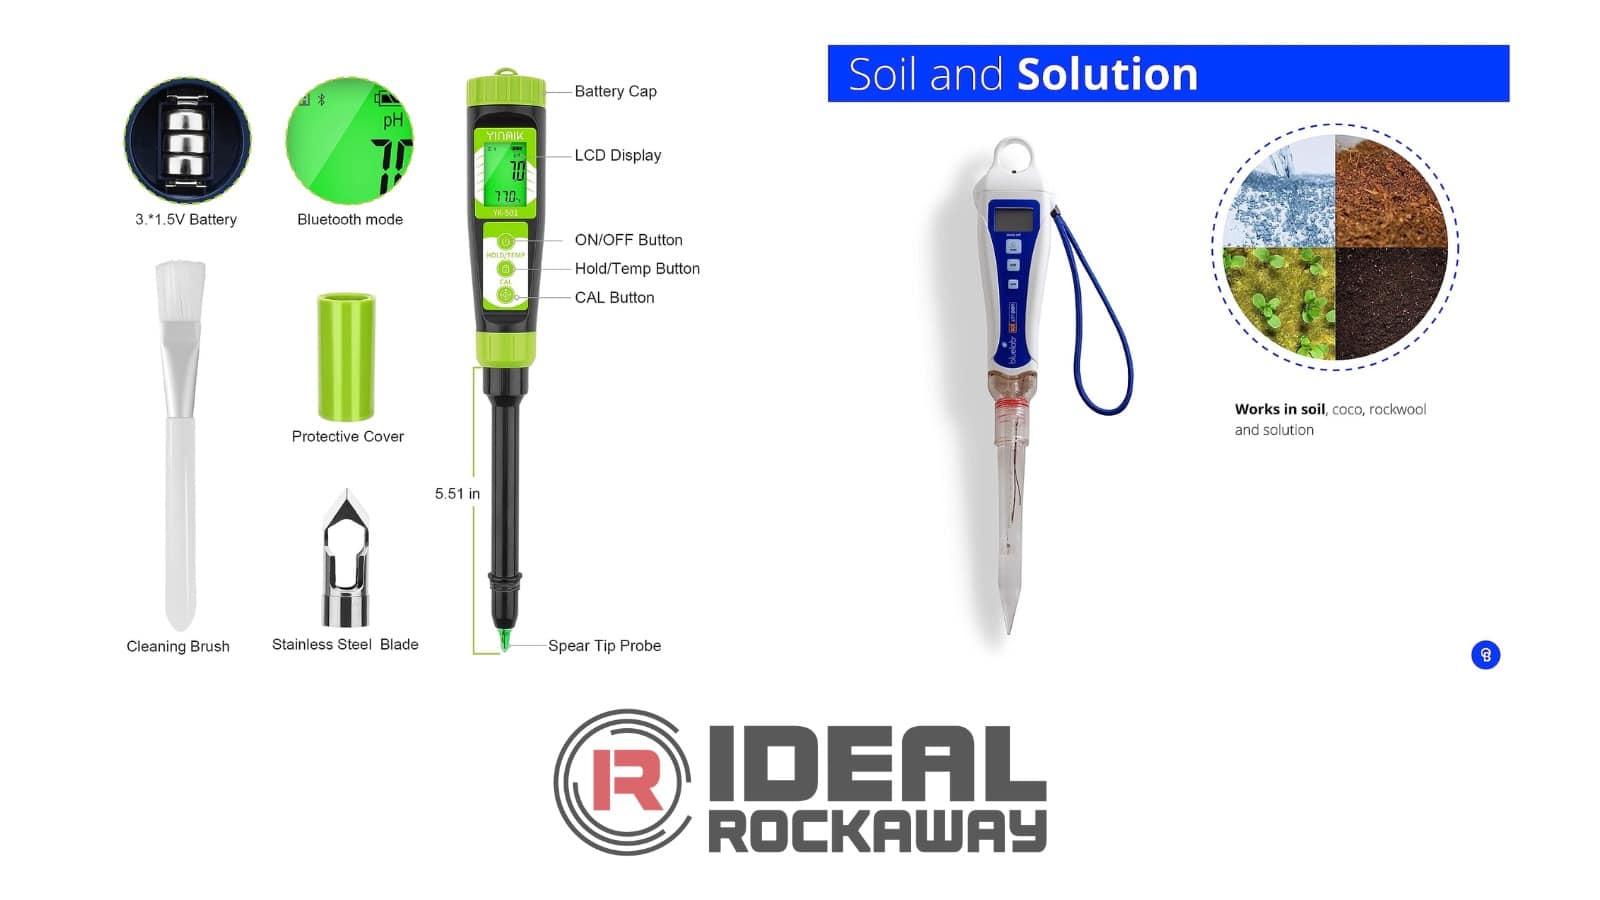
Here are two examples of soil pH pens we found on Amazon. The green soil pen on the left is under $100.00 and the blue soil pen on the right costs over $100.00. We are not recommending one over the other just showing you two options you have that are easily available on Amazon.
We borrowed the images from the Amazon product listings and will link to both so you can check them out.
Amend the Soil Before Laying Your New Sod
Once you get your soil test results back you will know what types of soil amendments you need before installing your new sod. If your soil is too acidic then you will want to topdress your soil with compost mixtures to make your soil more neutral. If your soil is too basic then you can add lime to make your soil more acidic. By testing your soil and amending it correctly you are setting yourself up for a successful sod installation, make sure that you don’t skip this step!
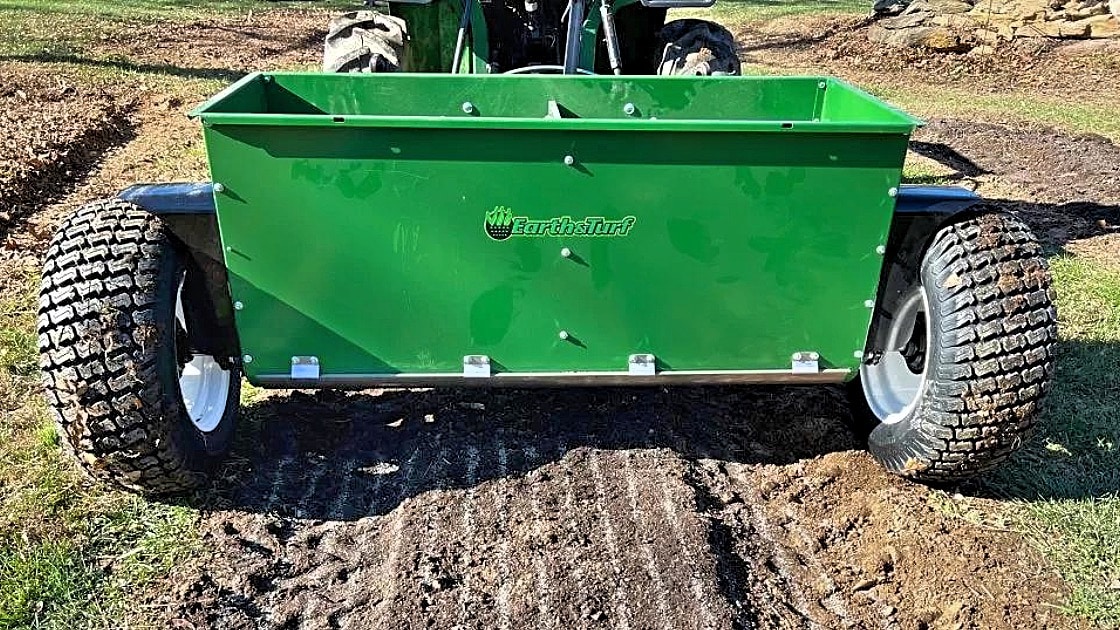
Thanks to Earth & Turf Products for the image of their lime drop spreader.
Soil Conditioning, Rock Removal, And Final Grading
After your soil has been amended you can begin your final grade before installing your sod. For final grading you want everything to be as level as possible while still maintaining your slope for proper water drainage.
If you have a small area and no power equipment then hand raking is how you will want to finish grade your soil. Make sure you remove any rocks, sticks, dirt clods, old roots, and other debris that would get in the way of your sod taking root properly.
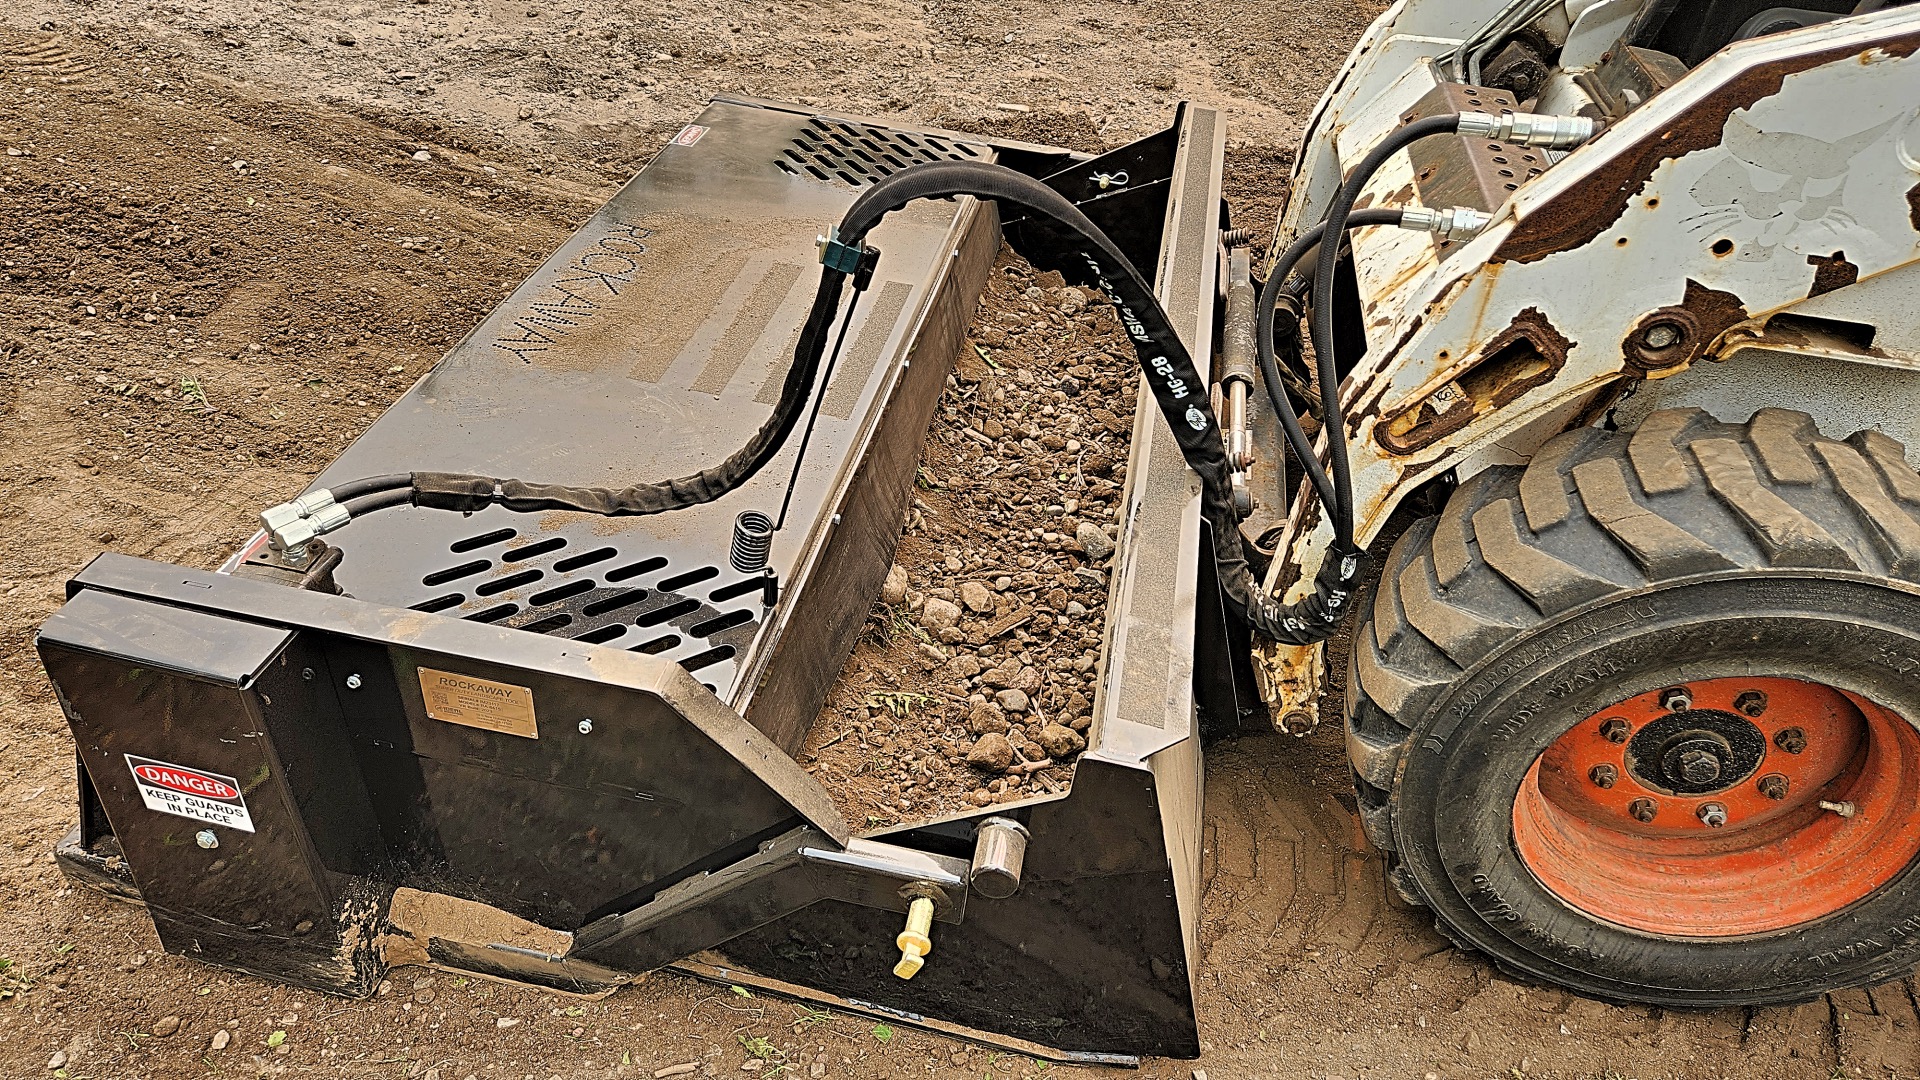
Using a skid steer attachment like a Rockaway landscaping rake will save you time by removing all the rocks and junk from your soil while also conditioning it so it will be ready for sod.

How To Prepare Rocky Soil For Sod
So, how do you prepare rocky soil for sod? Soil preparation in rocky soil is one of the most frustrating and challenging aspects of soil conditioning. Raking big rocks out by hand is not a good option, especially if you have lots of rocks. Neither is walking through your preparation area and picking out every rock by hand. It’s much better to use a rock rake attachment for a skid steer to remove rocks from the soil you want to lay your new sod in.
Landscaping rock rake options vary by size, design, and function. Ideal Rockaway rock rakes are one of the better options as they are highly durable, operate off a single #80 chain drive, and feature one aggressive rotor with two sets of hardox steel hardened teeth for digging out rocks. Other popular models like Rockhounds have multiple chains, and more hydraulic lines, and seem to break down more often.
How To Prepare Hard Soil For Sod
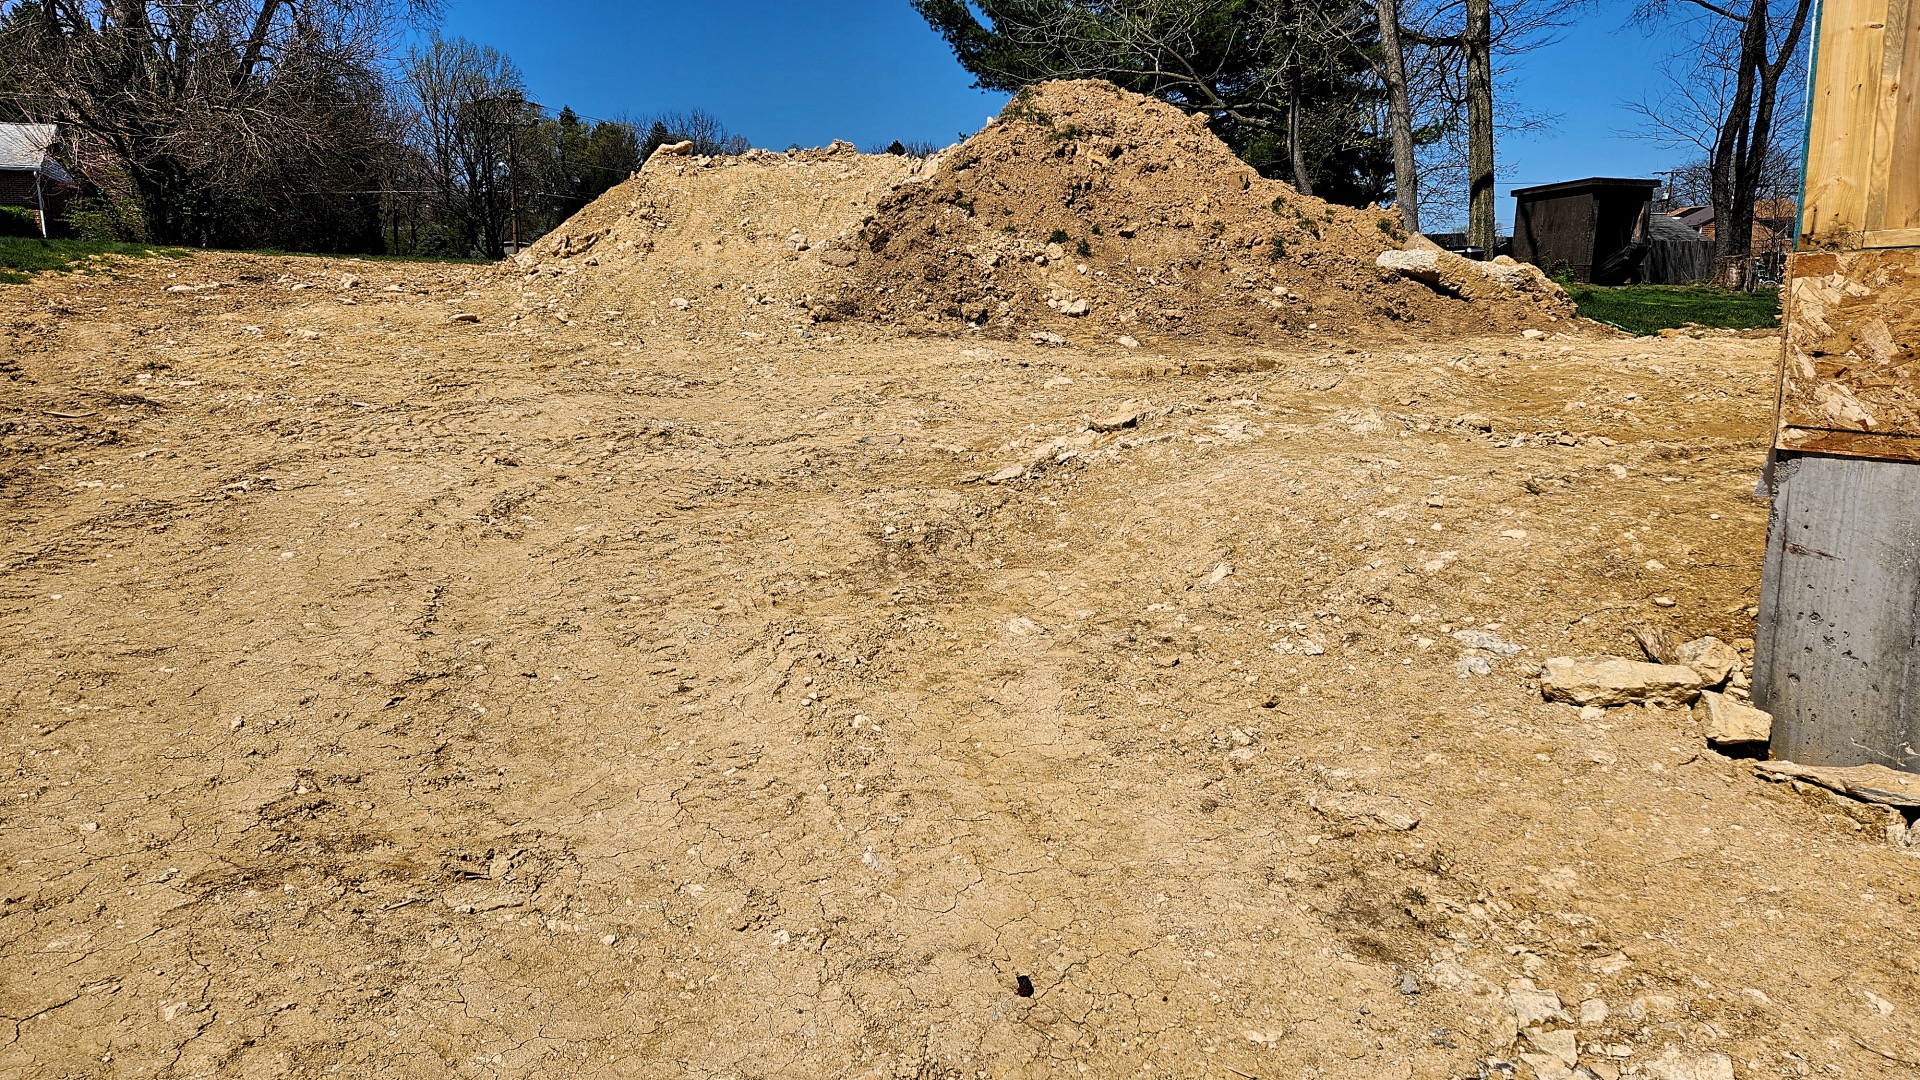
What do you do if you have hard-packed soil? How do you prepare hard soil for sod that even a Rockhound or a Rockaway won’t break up? You need to get something like a soil pulverizer (learn more about soil pulverizers in our rock rake blog). Soil pulverizers are attachments designed to help you break up the hardest-packed dirt. Then after it’s been “pulverized” you can use a rock rake attachment of your choice to clean out rocks and debris and condition the soil.
How To Install Your New Sod
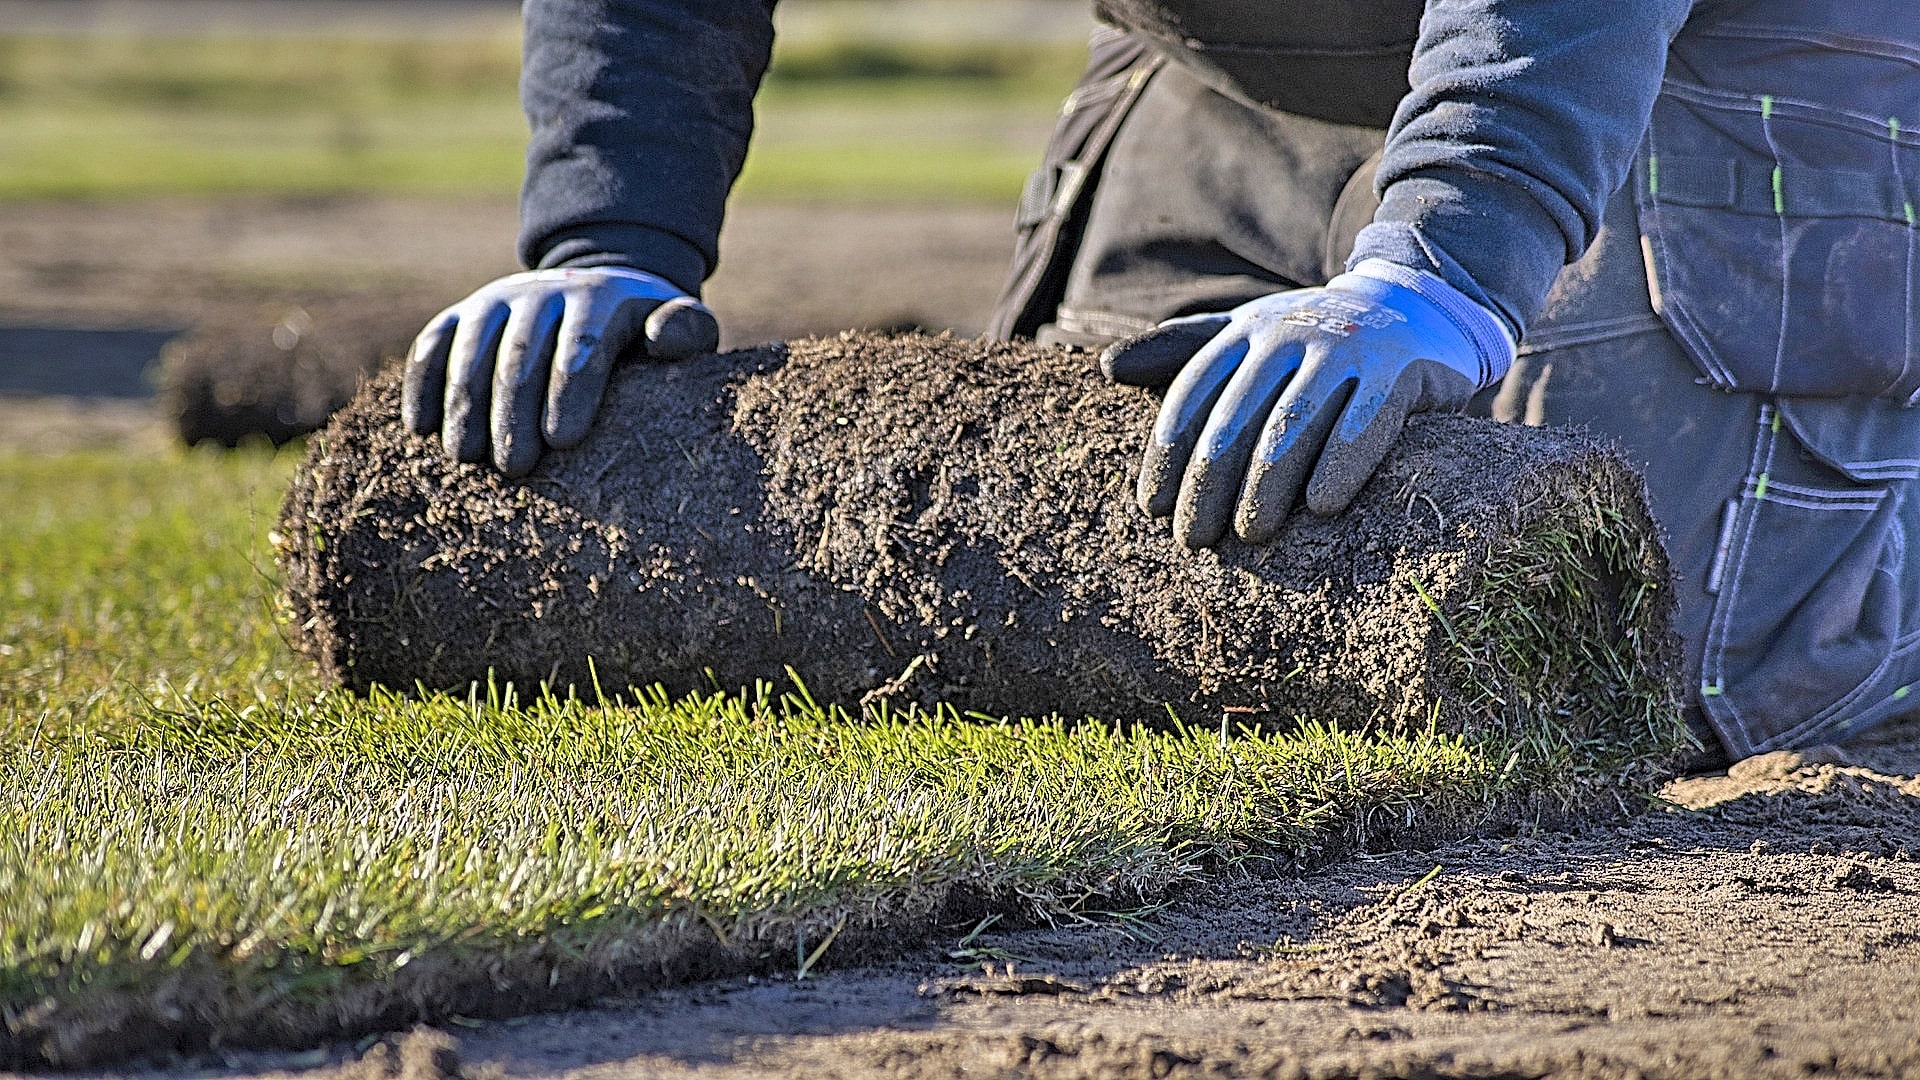
Now that your soil is ready for your new sod it’s time to begin installing. Make sure you choose the longest straight edge of the area to begin installing. This will keep your sod installation uniform as you lay down all your new sections. You can hand-rake out any footprints as you go and make sure that all your sod is flat against your soil, you don’t want to leave any air pockets underneath the sod you’re installing.
Just like laying a new floor or brick, you want to stagger your seams. An easy way to do this is to cut the first piece in half when you begin a new row. Make sure that your pieces are tight against each other so that there are no gaps in your installation.
Watering Your Newly Installed Sod
You will want to water your newly installed sod really well. This starts it off correctly and helps to settle the dirt. Make sure that you water your new sod every day in the morning before it gets too hot. You will lose a lot of water to evaporation in the hottest parts of the day. If you water your sod at night you risk fungal growth overnight, that is why morning is the best time to water your new sod.
When Is It Safe To Mow Your New Sod?
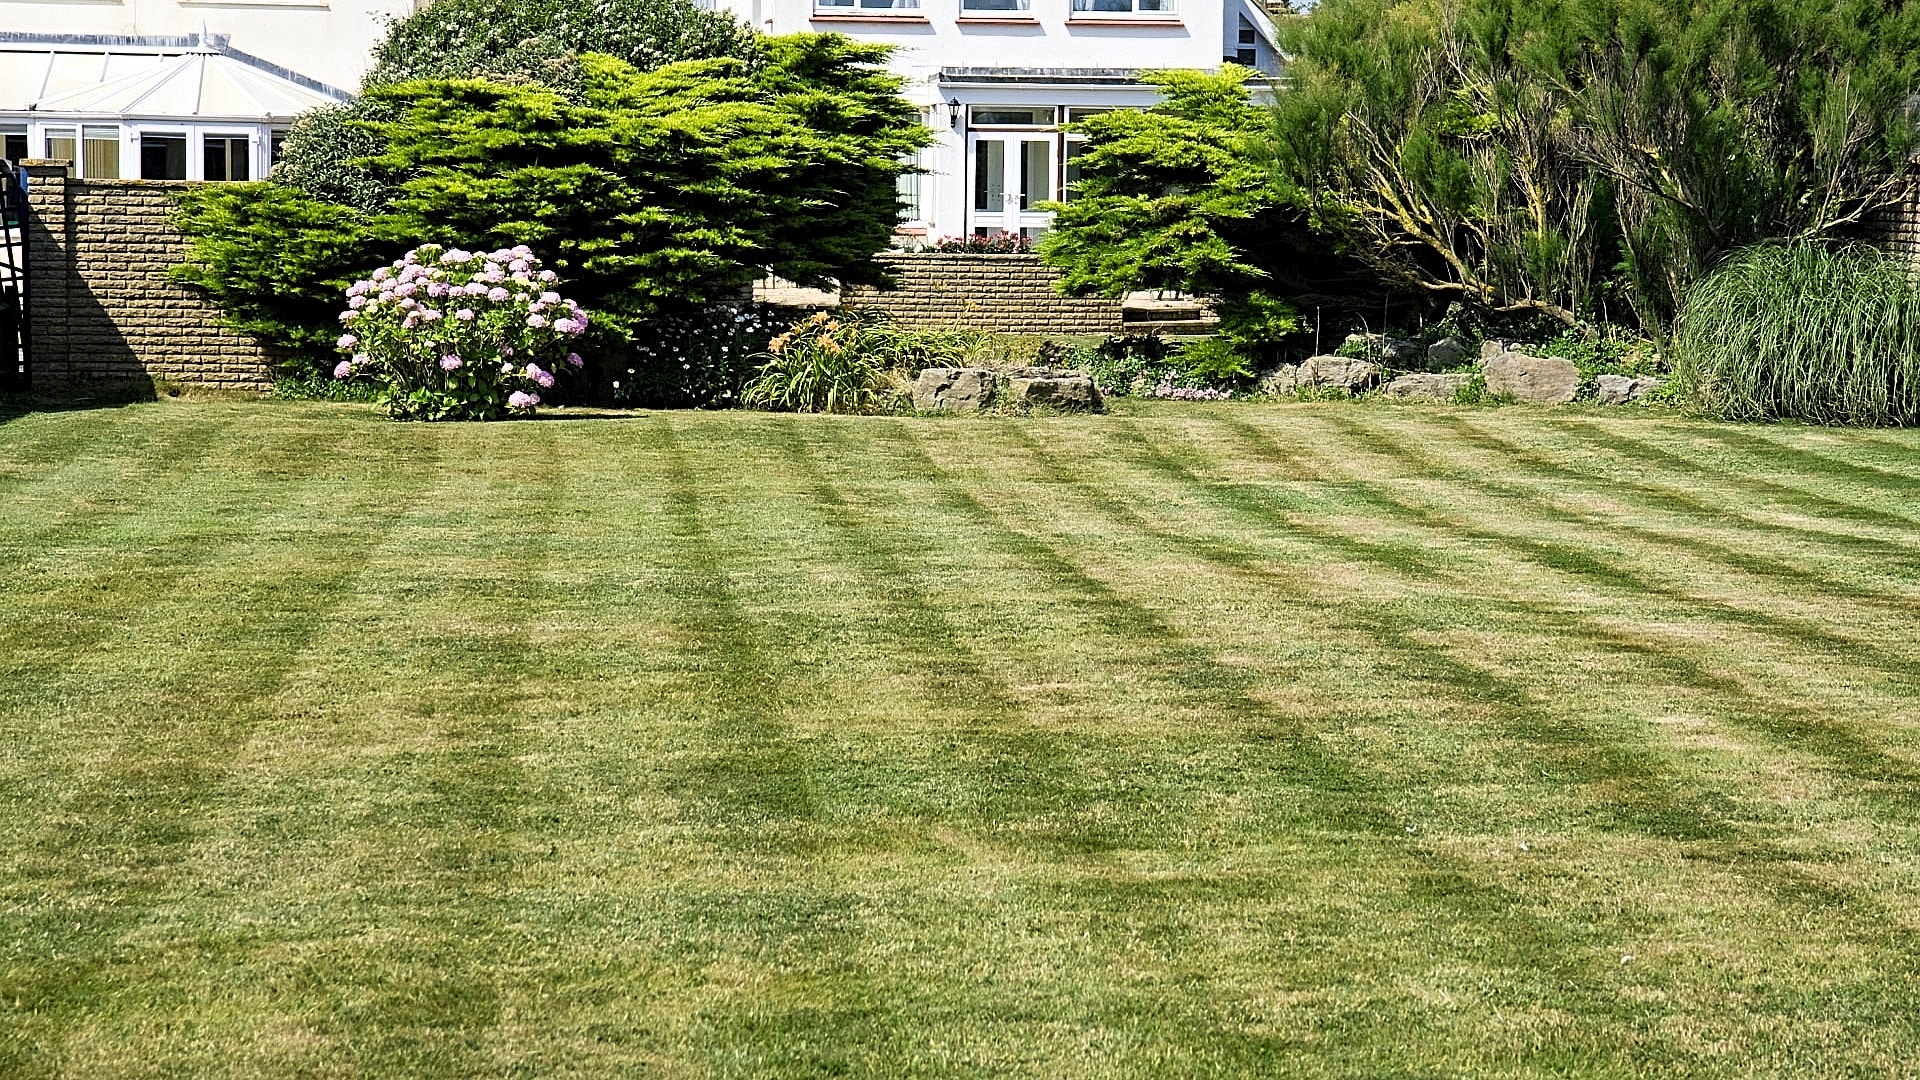
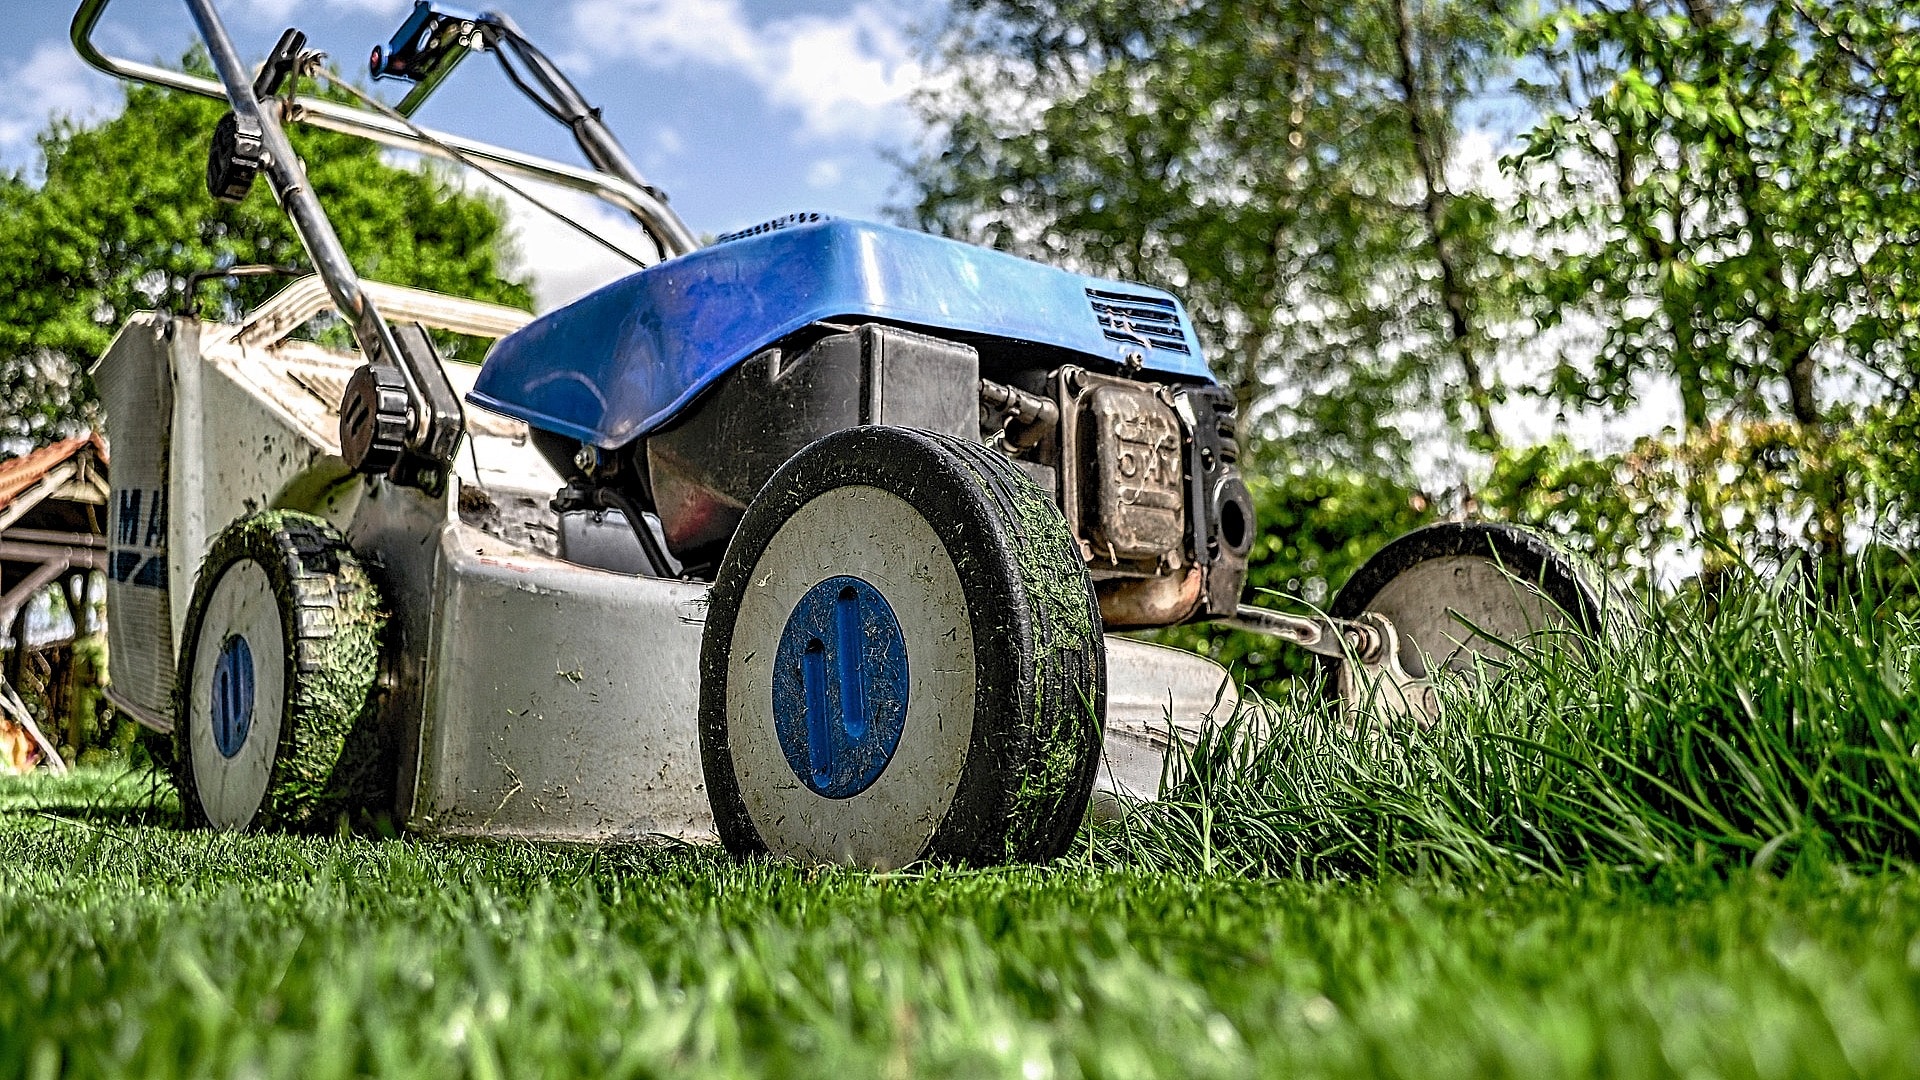
You want to give your sod plenty of time to establish roots before you mow it. Allowing it to grow to about 3 inches tall is a safe height to mow it for the first time. Make sure you set your mower deck high and only trim off ⅓ of the overall height. Playing it safe the first few times you mow is important to give your newly installed sod enough time to take root.
Make sure you are using a push mower and not a riding mower or garden tractor the first few times that you mow your new lawn. You want to give it every chance to get strong root systems established before challenging the seams with the weight of a riding mower.
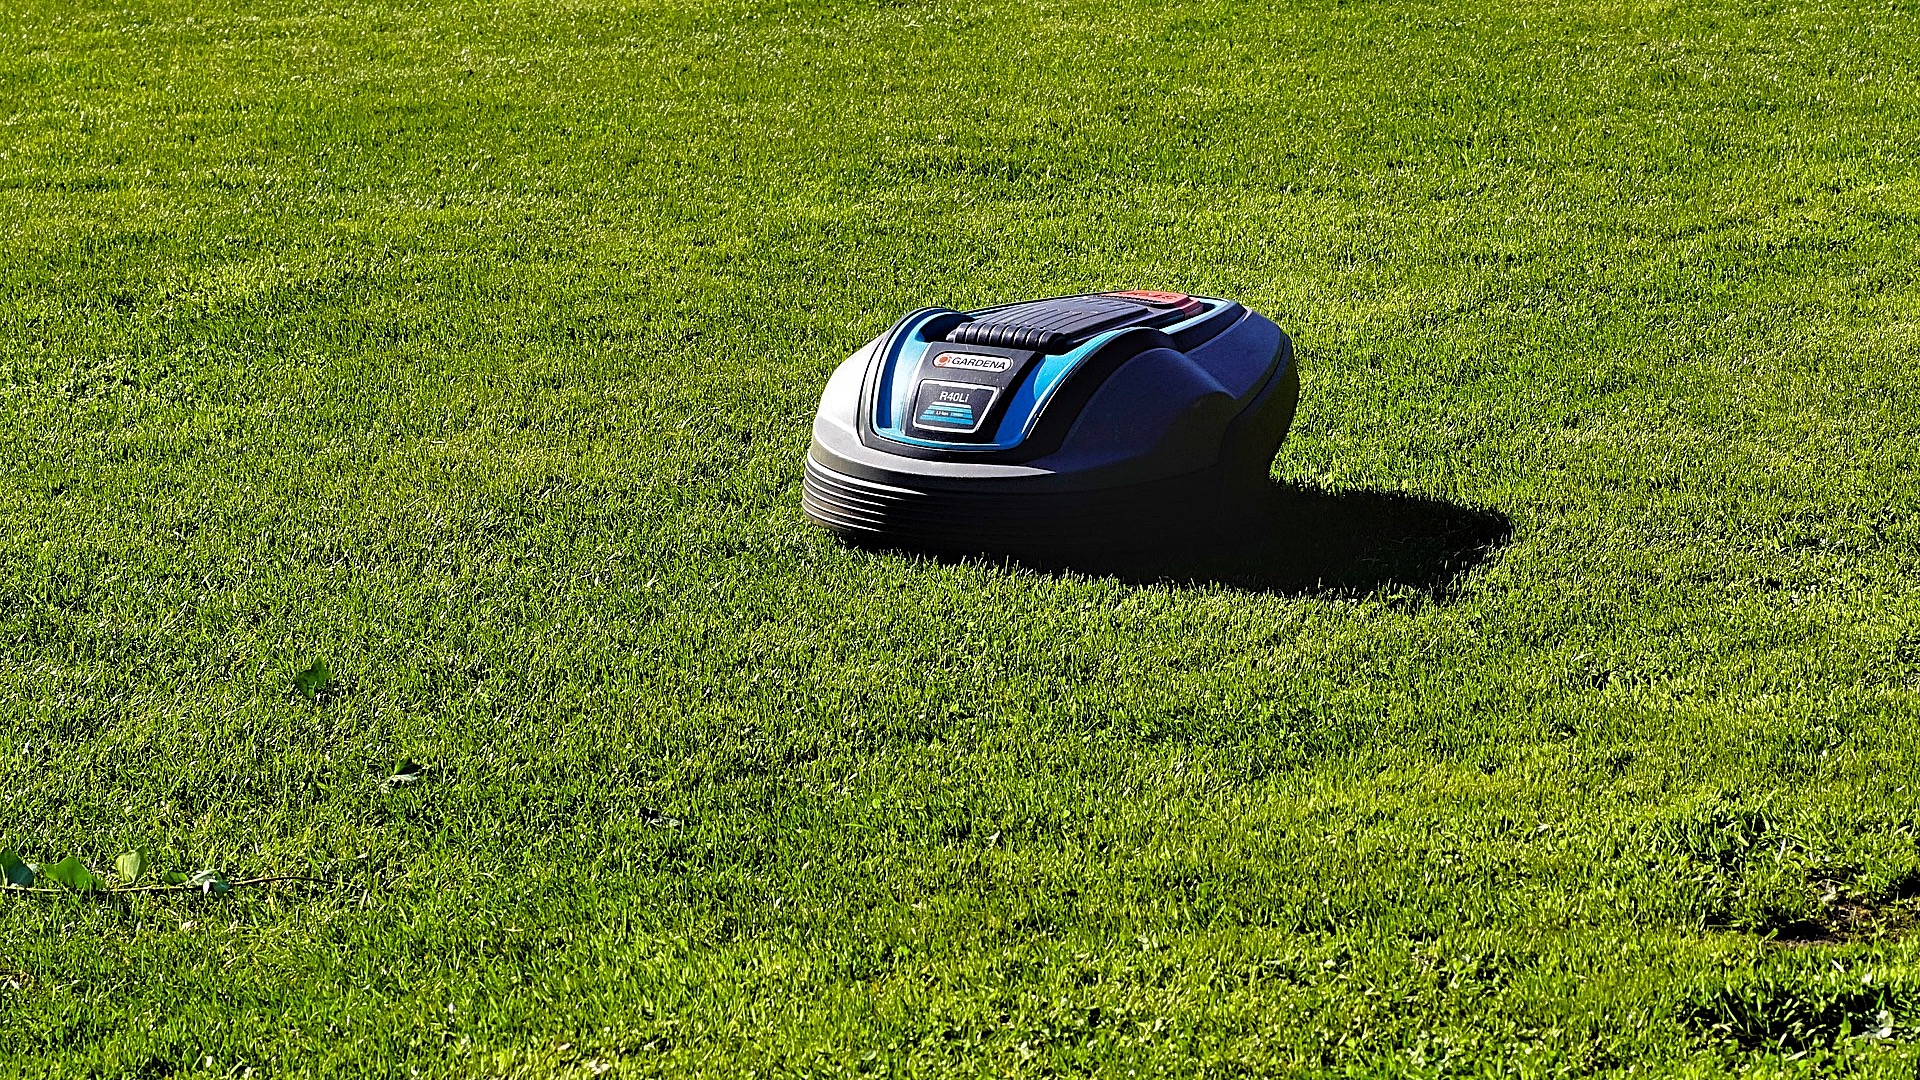
Another option you have for mowing freshly installed sod is a robotic mower. This would not have been an option several years ago but with technology constantly advancing robot mowers are becoming more and more common. Businesses and homeowners use them to keep their grass mowed neatly without having to do the work. A robot mower could be a good option for your new sod installation because it would be smaller and lighter than even you and a push mower.
When Can You Walk On Your New Sod?
It’s best to keep everyone off your new sod for the first week. This gives it enough time to begin establishing roots before risking the seams with foot traffic or equipment like lawnmowers. After a week you can start allowing foot traffic on your new lawn areas but pay attention to whether or not you see any seam separation after people have been walking on it. It’s still too soon to drive tractors or lawnmowers over your sod so be careful and patient.

Soil Prep And Sod Installation Wrap Up
Now you know the ins and outs of preparing your soil for laying new sod and the installation process itself. Follow the steps provided, do things the right way, and you have an above-average chance that your new sod installation will be a big success!
If you want to know more about rock rake attachments and soil pulverizers check out our Full Rock Rake Comparison Guide and if you’re curious to learn more about soil preparation check out our blog 5 Essential Steps To Prepare Your Soil For Landscaping.


